Since the artist works from the back of the image, it can be difficult to get the desired arrangement.
A preview scan helps to obtain the desired arrangement before the final image is taken.
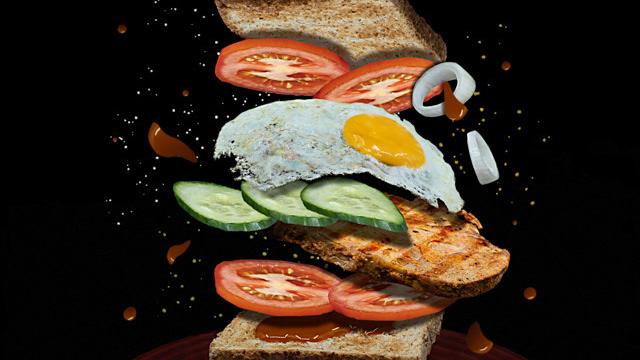
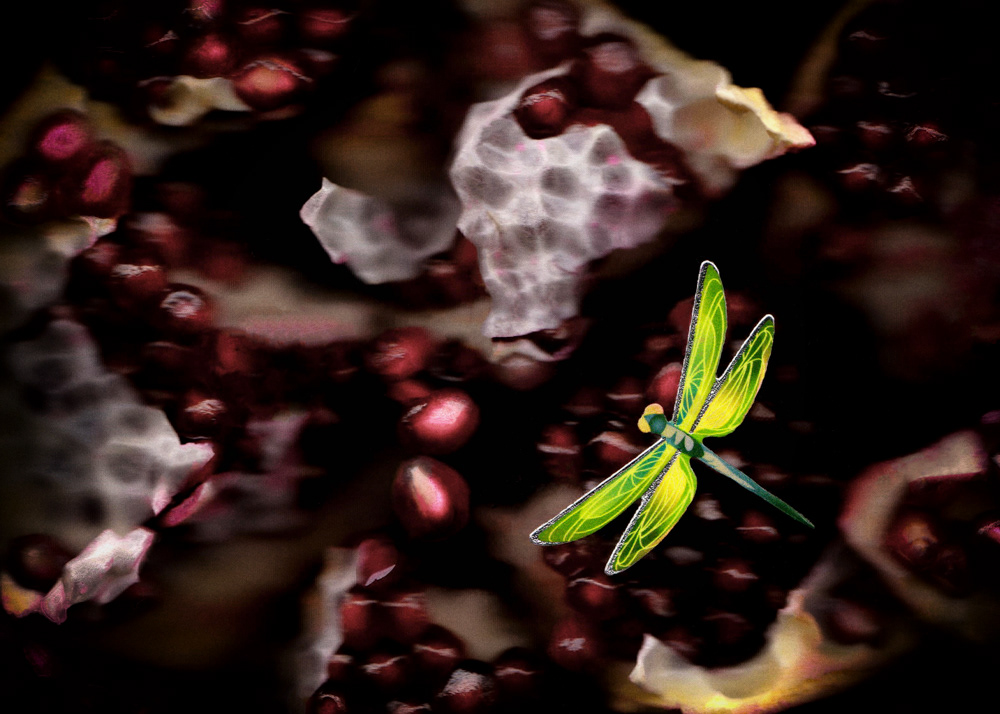
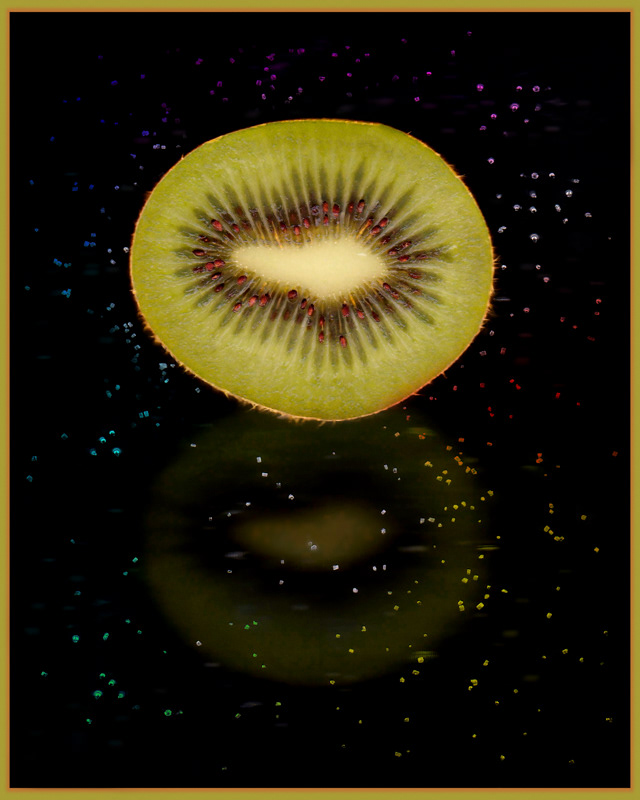
Everyday objects, flowers, vegetables or fruits, even fish and meat are particularly suitable for still life. It is very important to create an interesting composition in which the preview helps well. After the preview you can correct the position of the objects right or left, centimeter after centimeter. Sometimes the creation of the composition takes up to fifty attempts.
One more technique is to turn the scanner upside down or upside down and then scan, as with the picture "In the kitchen". A large increase in small objects makes it possible to see them differently. In works that are printed in a format of, for example, 50 x 70 cm, familiar objects are perceived as unusual. Also, such things can be used to take pictures of items sold, for example, on auction sites that are too small to be easily photographed with digital cameras.
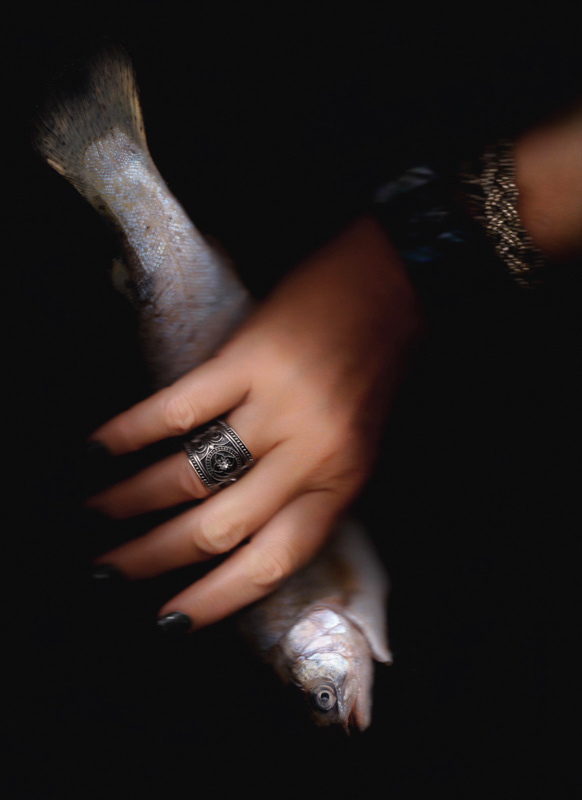
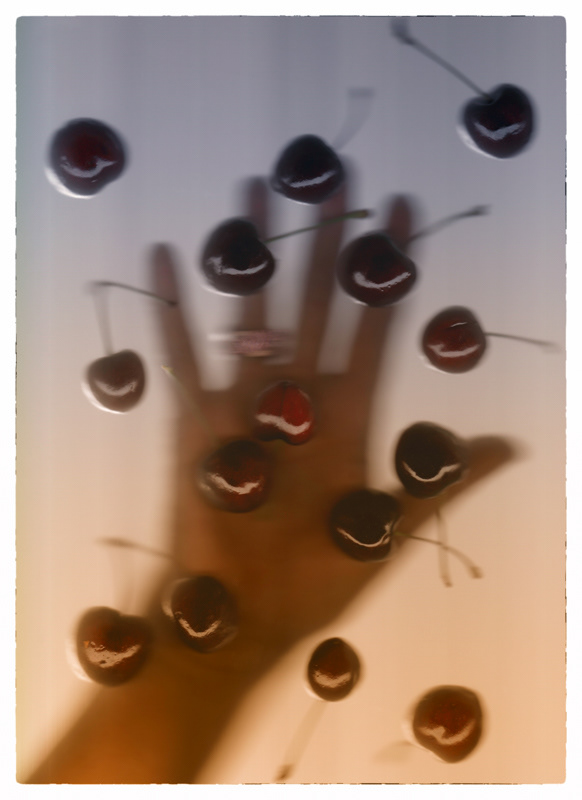
Scanning portraits is more difficult. Face or hands must be kept steady during the scan, and the speed of the high-resolution scanner is very slow - up to a few minutes. Breathing and trembling creates torn lines that can not be removed, then you have to make everything new.

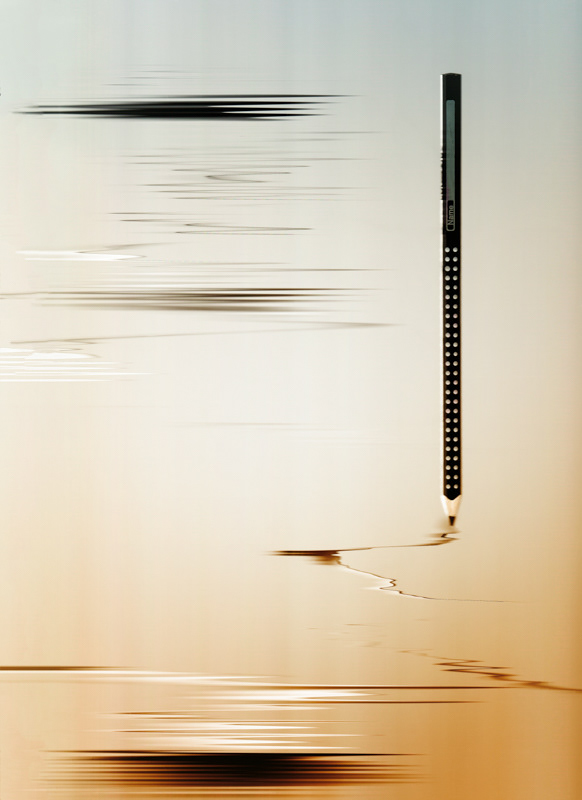
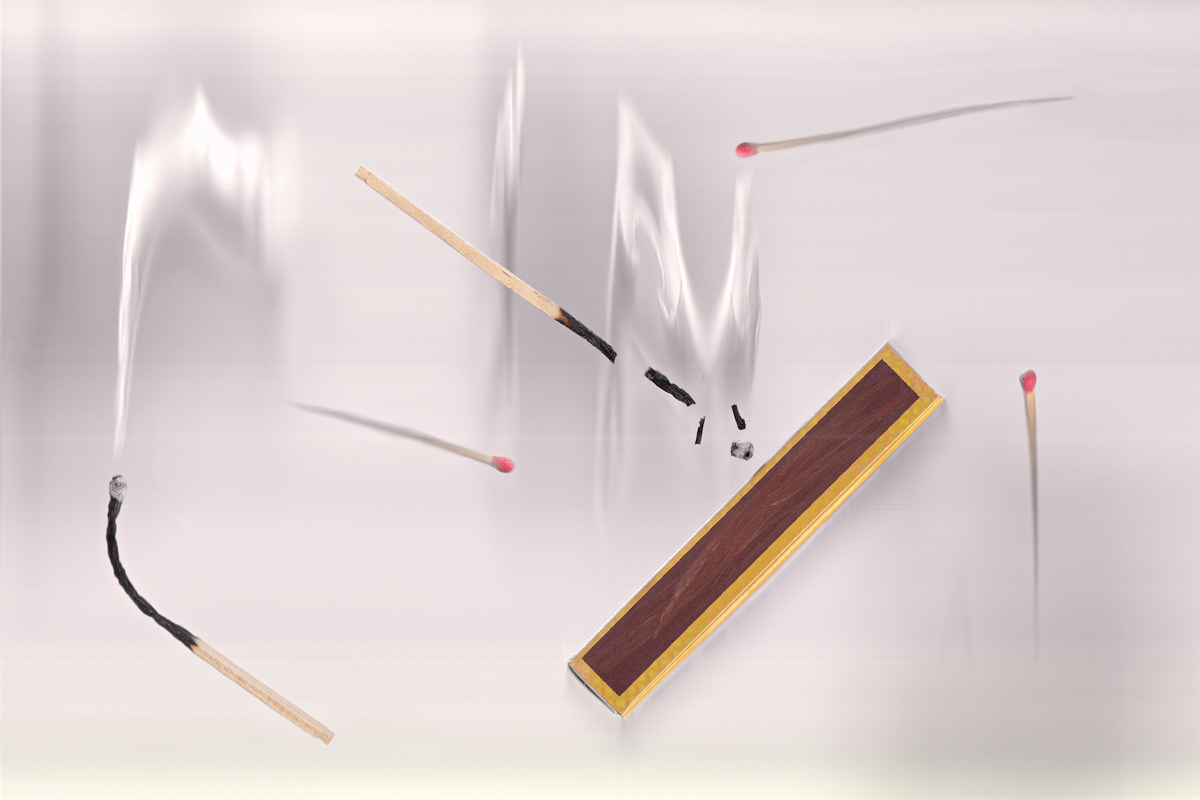
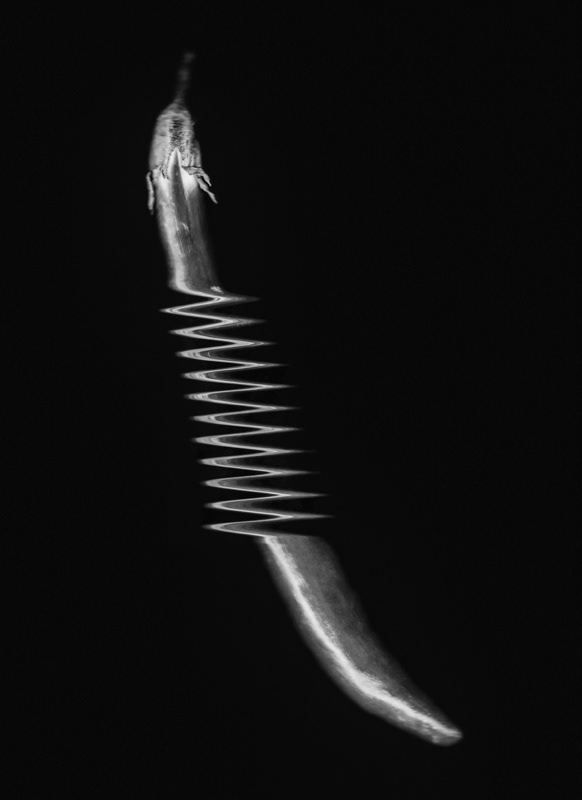
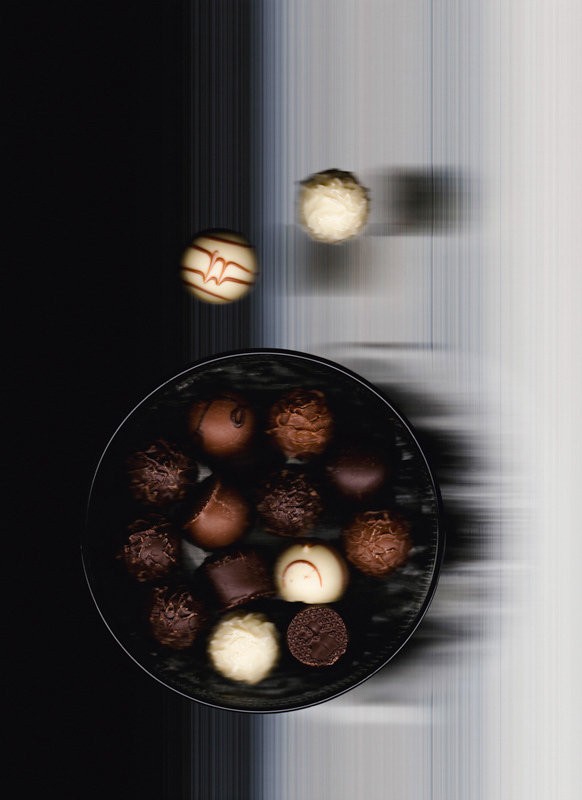
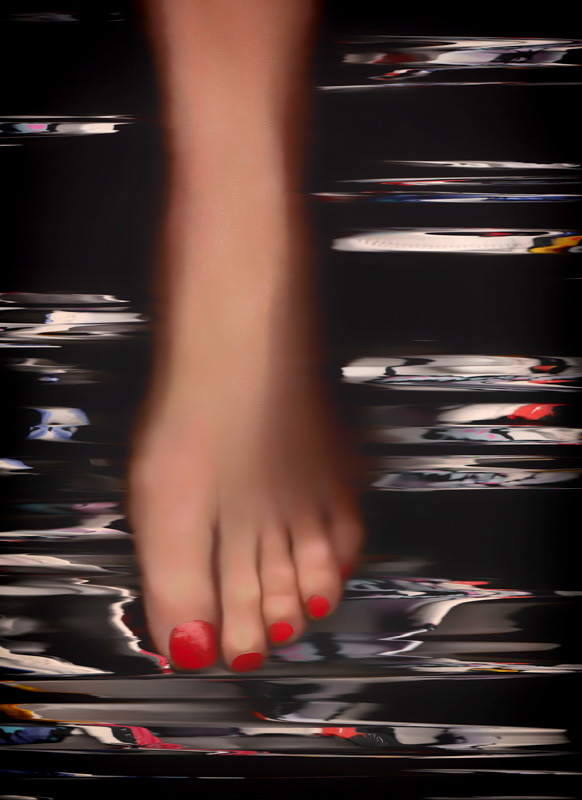
However, if you make specific movements during the scan, you can get unusual interesting so-called stripe images that would be impossible to create with a camera. Capturing a moving object with the scanner is also a chance to create artistic effects. With Photoshop you add contrast and clean dust particles from the scanner.
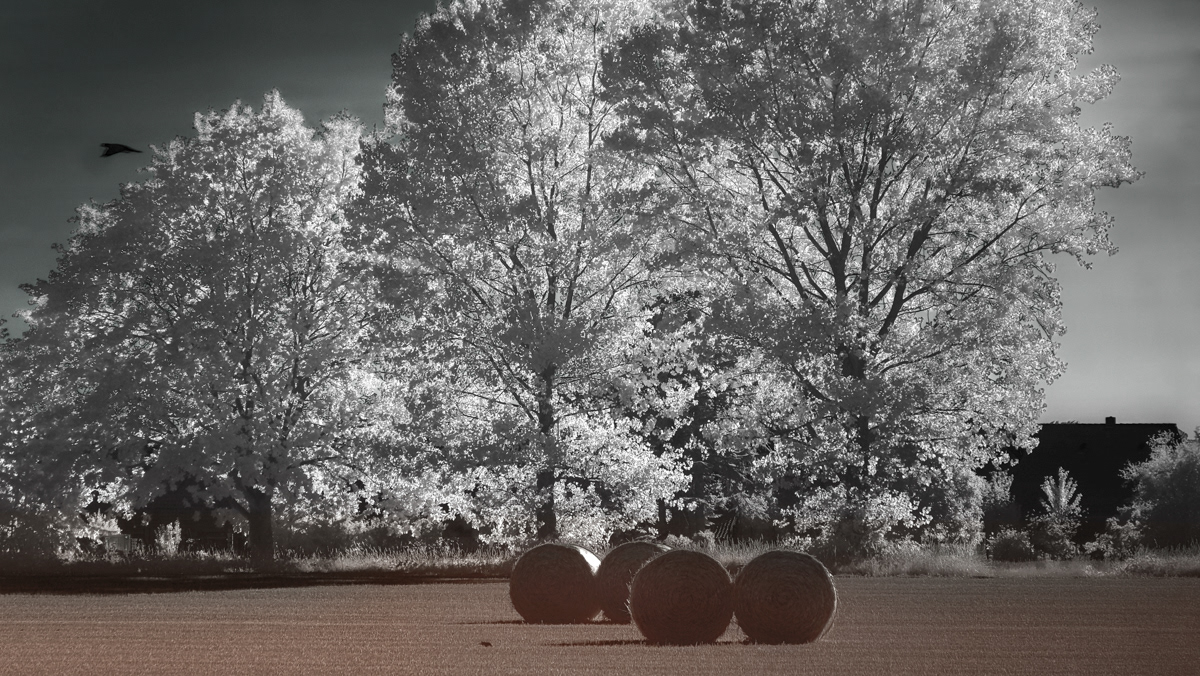
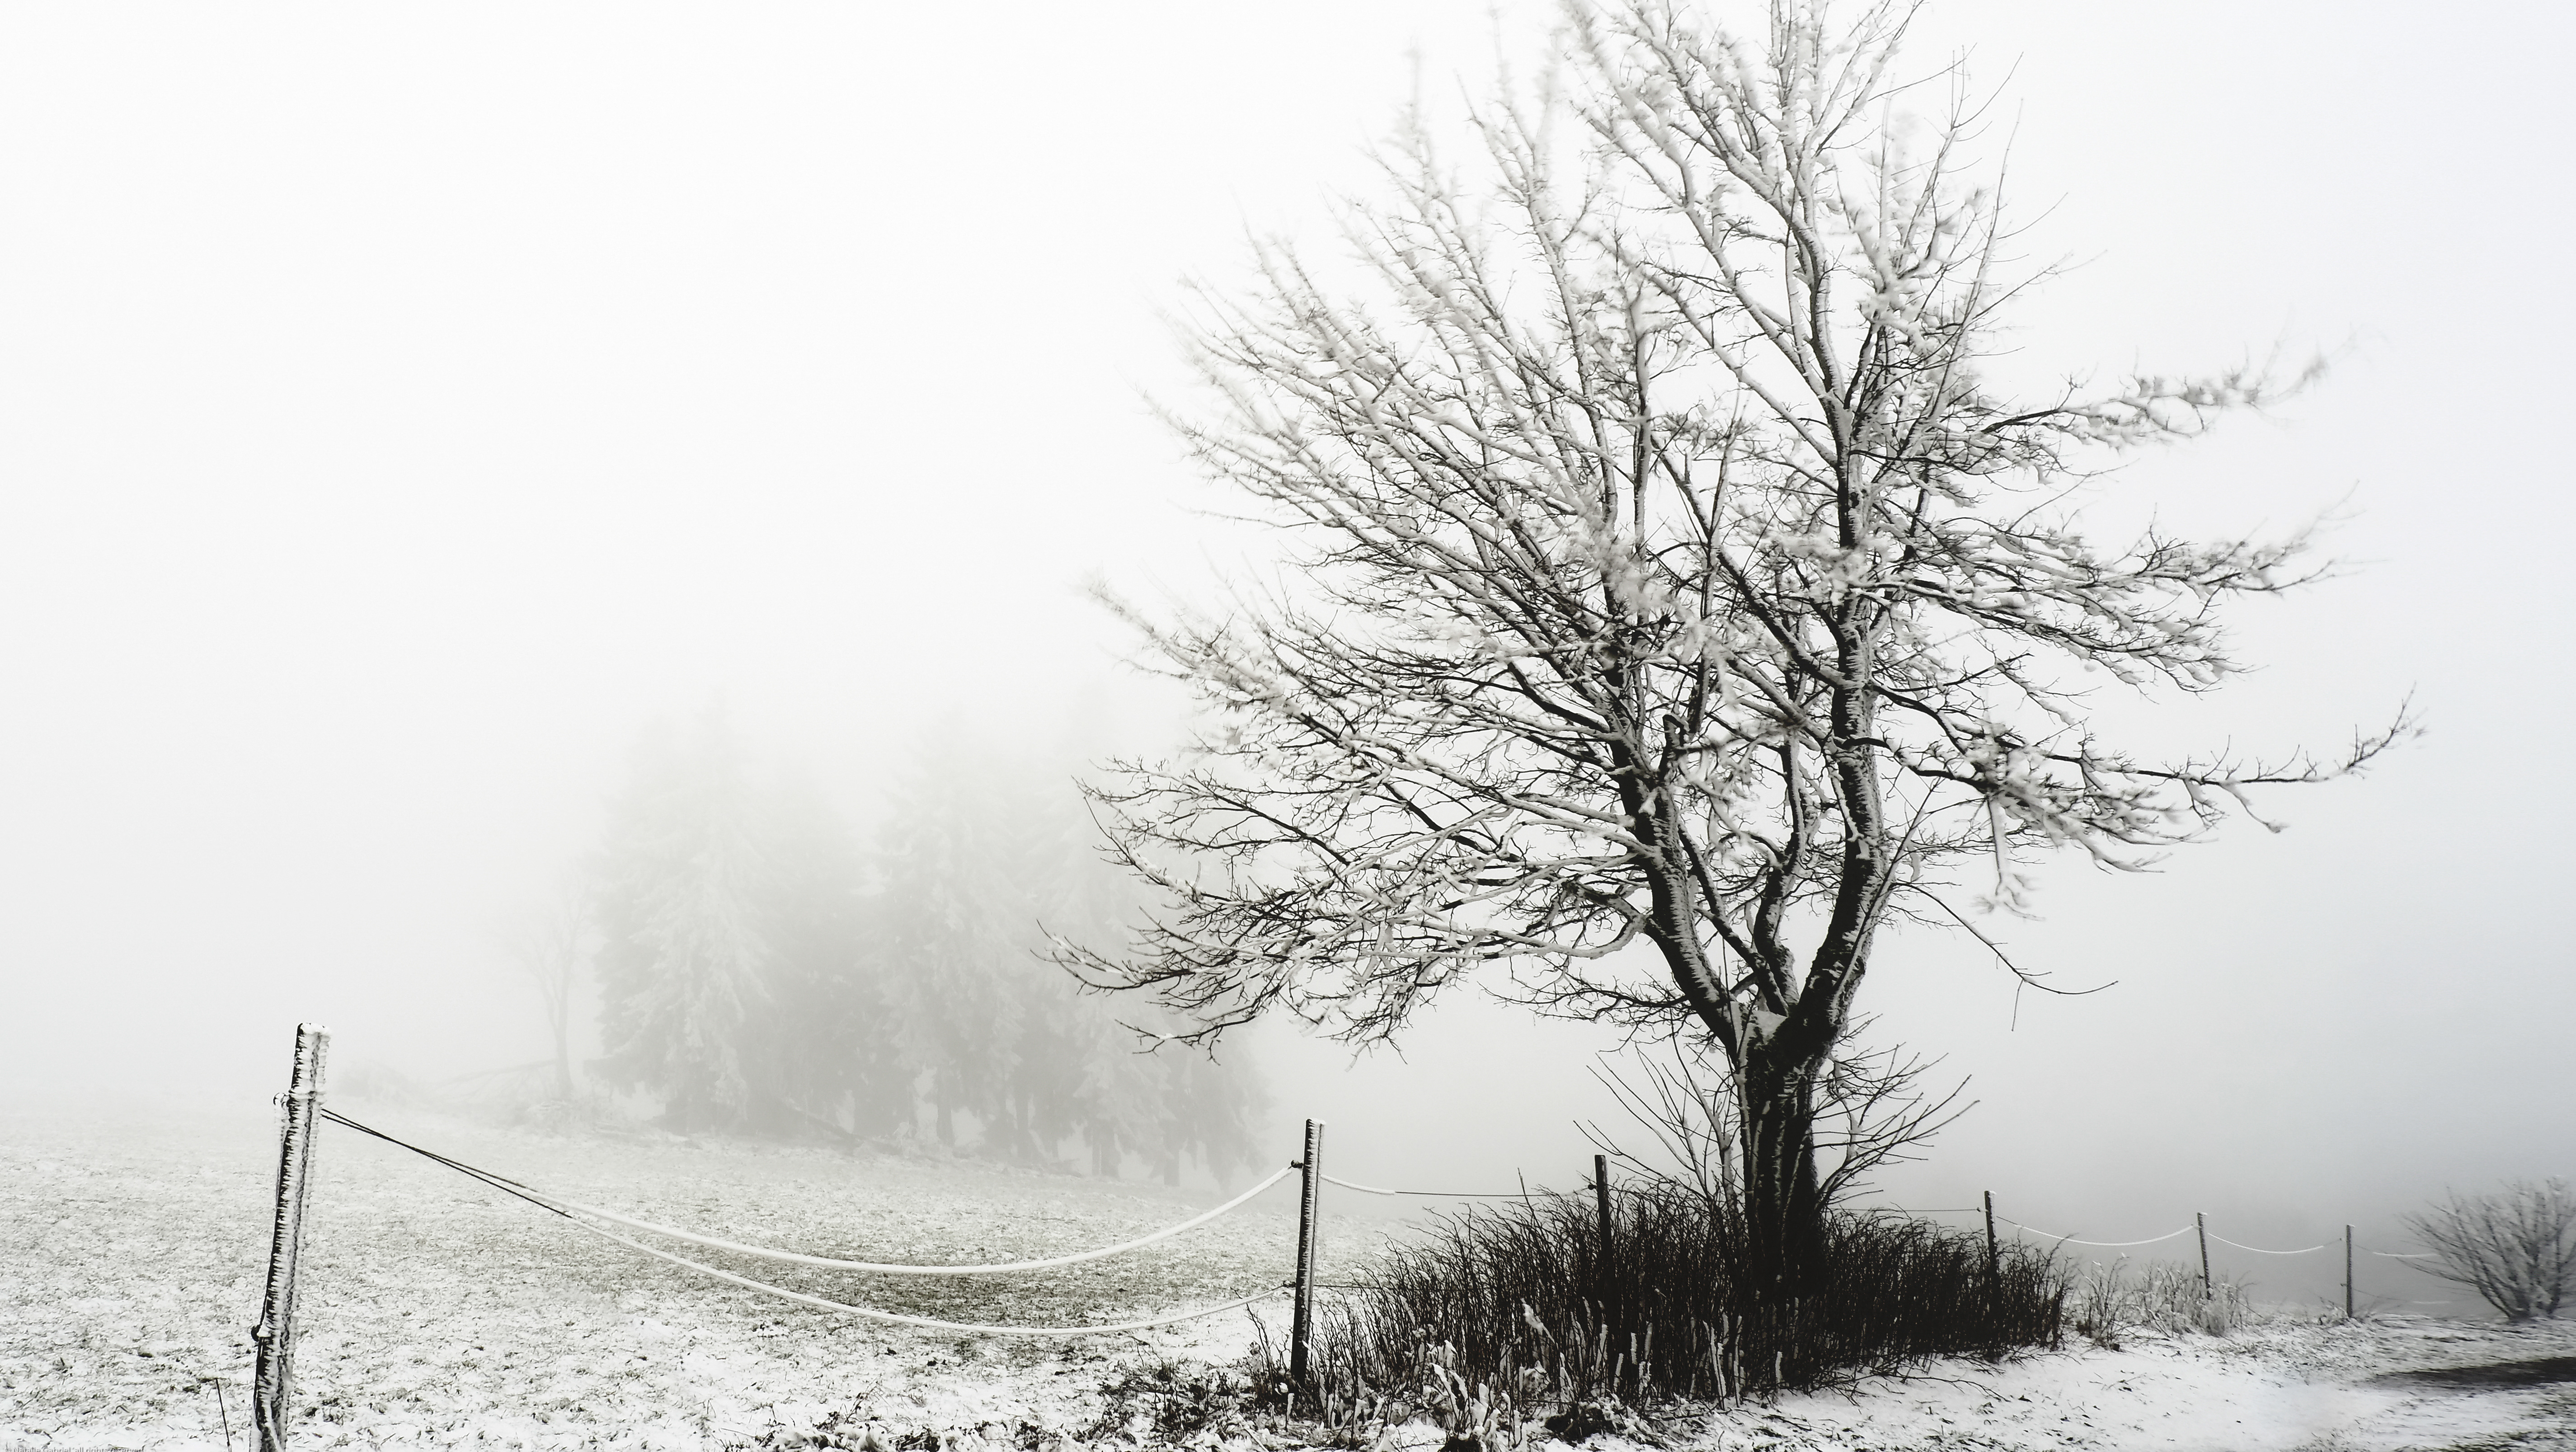
How to create a background for a picture? If you open the cover during the scan, the background turns white during the day and turns black in the evening. Removing the cover allows the artist to use additional light sources outside the scan area, which can be used to improve the depth of the scanner. Interesting effects are achieved when a mirror is directed at an angle to the scanner, as in the pictures "Roses" and "Vase & chocolates" The mirror can be moved during the scan, so that each time a different background results.


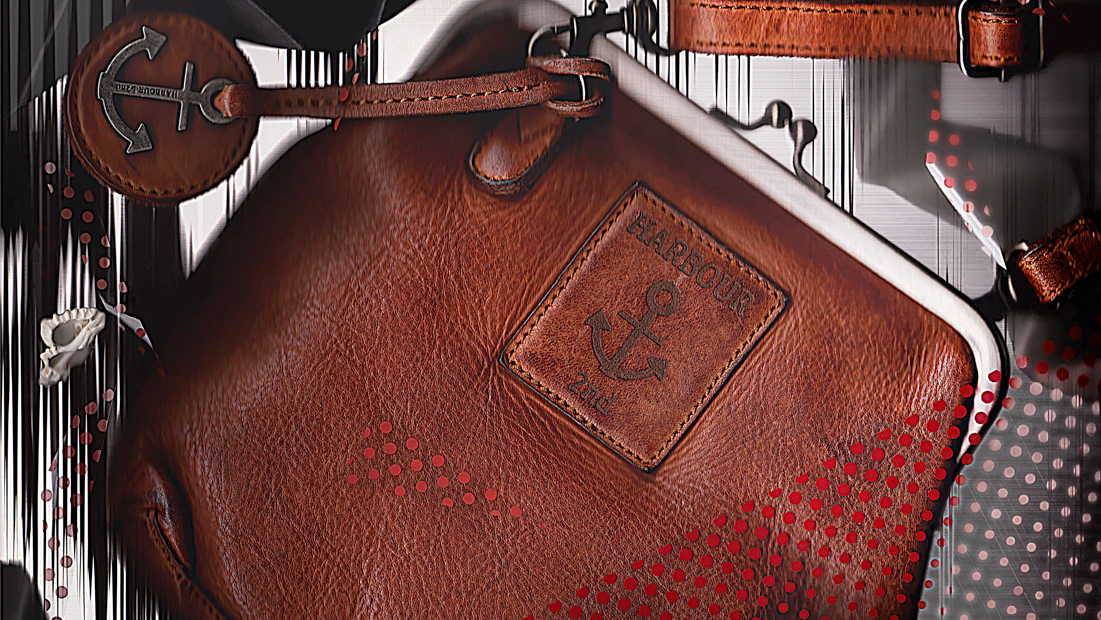
Articles can also be covered with fabric or colored paper to obtain different compositions. These include combinations of lines, color spots, and textures that may look like magical twists and mazes.

After scanning, the images are saved in TIFF format. I first set a large resolution, not 300 pixels, but 600. In Photoshop, you can transfer the image back to 300, while the quality remains impeccable.
On scanned images, there are characteristic stripes when enlarging the image. For some images, I clean up with the RAW converter "noise reduction" function, because you can adjust each image individually. Depending on what is in the picture and what kind of movements were made during the scanning, you can also leave it as it is, the stripes sometimes create an interesting structure.
Of course, scanners differ from digital cameras. The optical resolution of a flatbed scanner can exceed 5000 pixels per inch (200 pixels per mm). Even at a relatively low resolution of 1200 pixels per inch (47p / mm), a letter-sized image would be 134 megapixels. The depth of field of most scanners is very limited, usually no more than half an inch (12 mm), but the built-in light source provides excellent sharpness and unique shadow effects. Although the depth of field of the scanner is low, the illusion of space is breathtaking.

Since the objects are often brought into contact with the scanner, there is a risk of damage to the scanner by objects that can scratch or tear the surface of the scanning surface, even of liquids that would get from the object to the inside of the scanner. Place a layer of transparent protective material, such as a clear plastic film, on the scanning surface. Alternatively, a thin picture frame glass can protect the surface from such challenges.
In any case, it is necessary to control the image for the presence of residual dust and lint. I enlarge the view to 200 to 300% and look carefully, if the picture shows the dust or lint. If something like that is on the scan surface, it can be removed in the Photoshop with the tool area repair brush (J). In general, the scanner must be thoroughly cleaned when preparing the work. The scanner has no adjustable focus so that the sharpest focus is always closest to the glass, then all the dirt is clearly visible. Wipe the scanned surface with a clean cloth and then air it with the bellows, otherwise all your creative powers will go to clean up the pictures.
Natalie Gabriel