In the fog, even in total absence of the sun, exciting and impressive photos can be taken if certain techniques are used

Fog visually acts as a softener, it dampens light and changes colors. That's why you can forget the automatic systems of most cameras, here everything has to be focused manually and often the settings for each photo are individual.
With the exposure settings on the camera you have to deal with something. My advice: Put your camera on a tripod and take three pictures, one underexposed, one normal and one overexposed. Then you can select a picture from the three or join them together, for example with Photoshop. If you use the automatic, the pictures tend to be underexposed. Nevertheless, one can experiment with the exposure times like, because the constantly changing fog leads to great effects. Flash light in the fog is not desired.
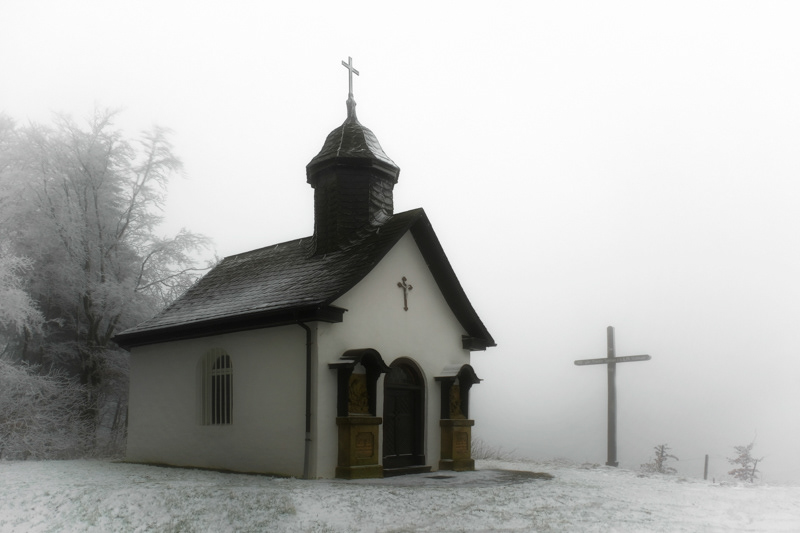
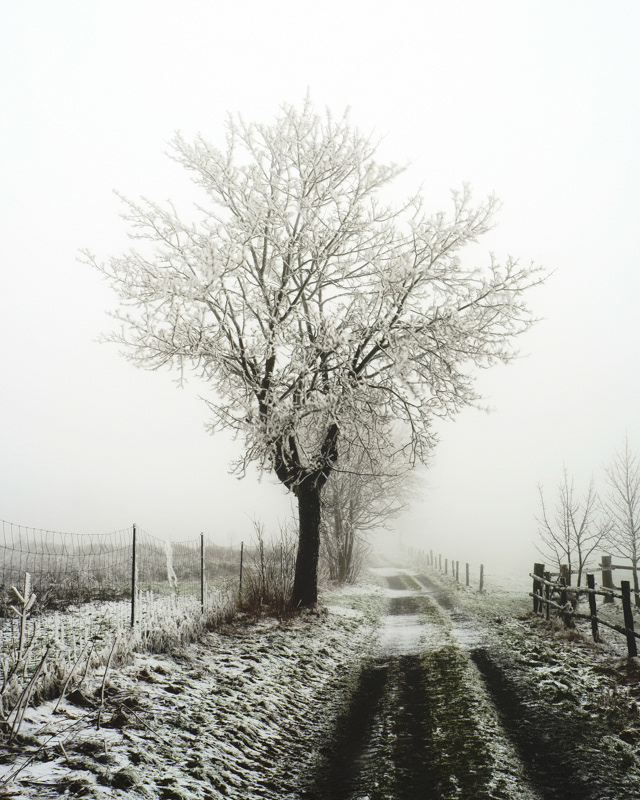
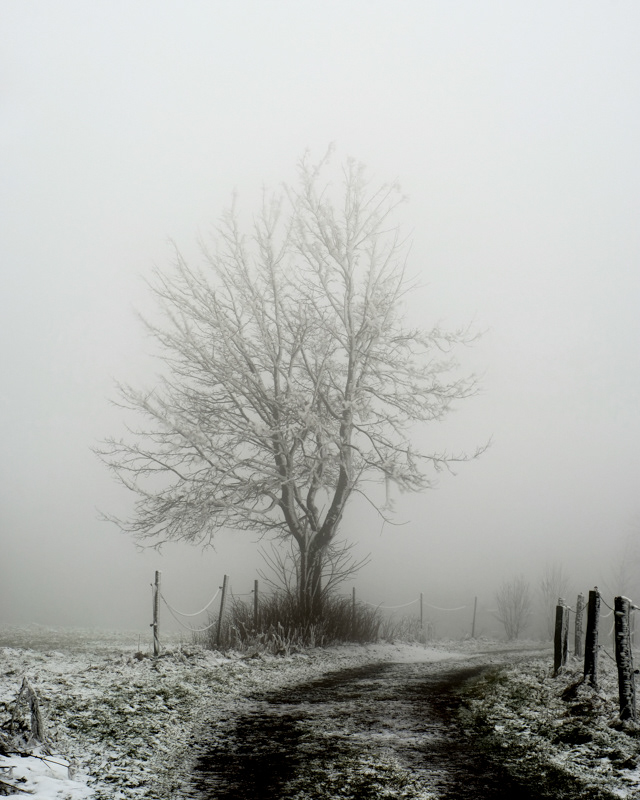
How is it best to focus in the fog? I suggest choosing a clearly recognisable subject with clear shapes, colors, and lines, which is ideally not in the middle of the fog, but in front of it or above. The other objects, which are at different distances, give the photo additional depth. If the camera does not focus on the subject, switch to manual mode. One possibility is to simply set the focus to Infinite. The live view mode can also support focusing.
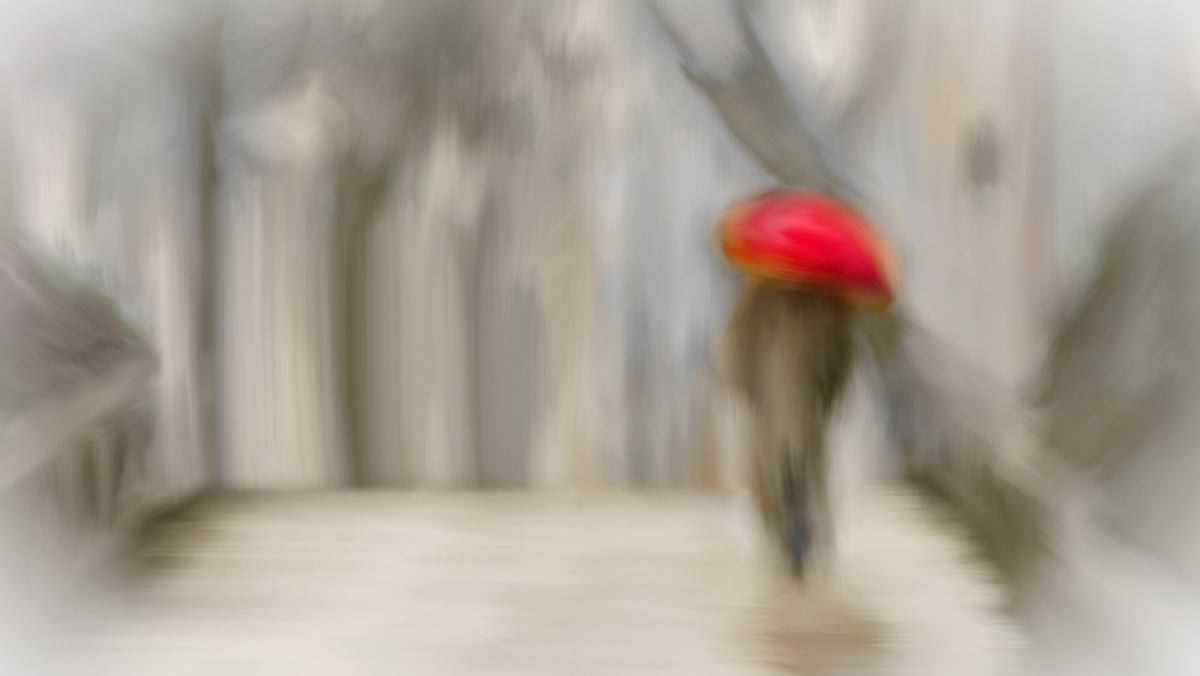
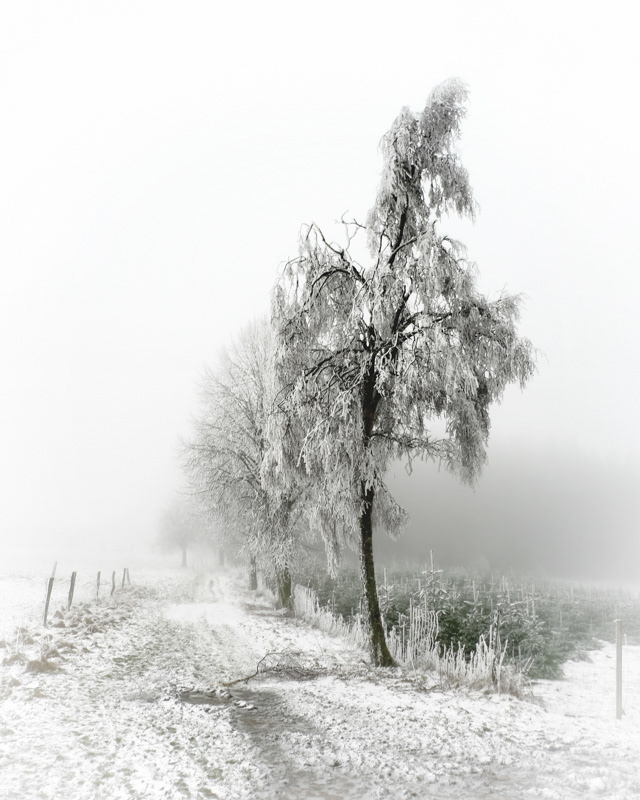
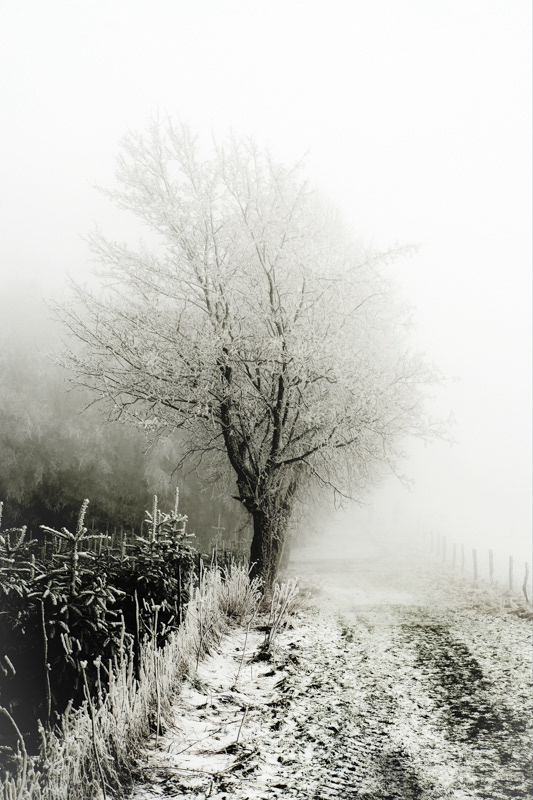
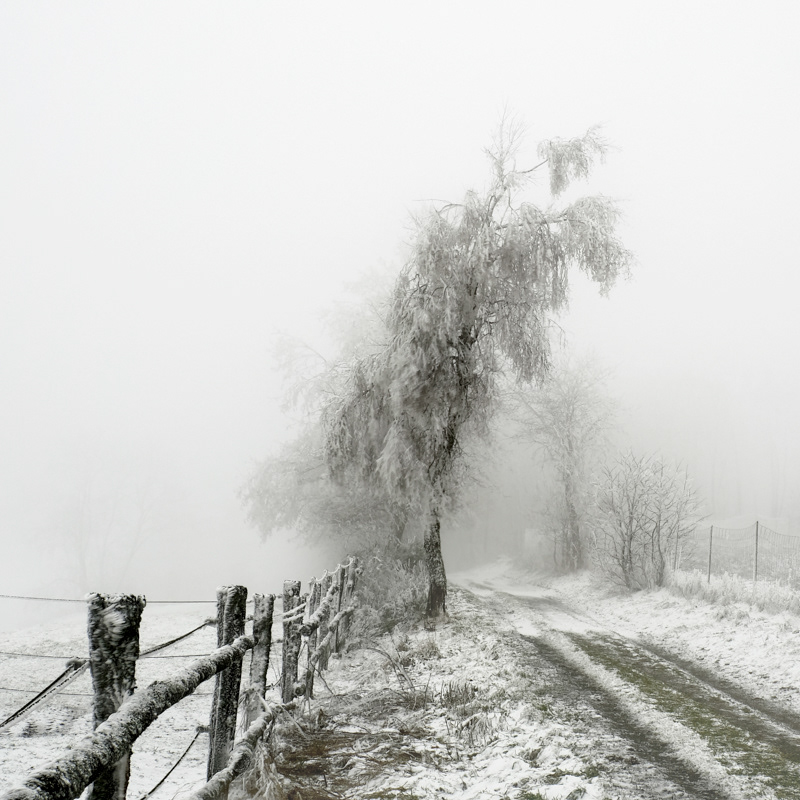
Many photographers recommend opening the aperture in the fog and setting the ISO to 200 to 400. My goal at that time was to get a special softness of the photo. As a light breeze blew, I wanted to blur the trees a little, which would give the picture the effect of a painting. So I tried to do the opposite. In order to achieve a longer exposure time (up to 3 seconds), I set ISO at 100 and the aperture up to f22. I also used a grey filter.
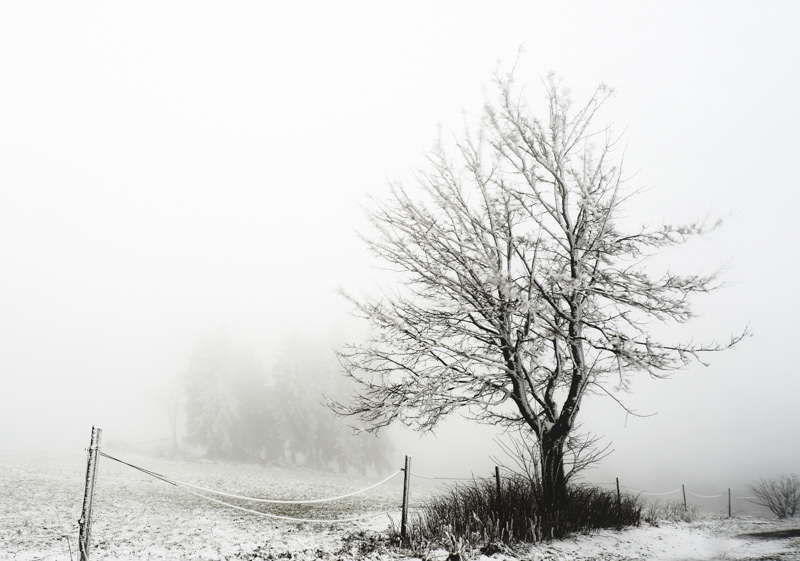
Whether fog photos should necessarily be black and white? Yes, that looks beautiful. But it seemed to me that the photos for my "painting plan" in the black and white light would seem a bit boring. That's why I decided to reduce the saturation by only 50%. I have to say that the settings for each photo are purely individual. In some of the photos I have dropped the saturation of 60% and below.
Manual white balance settings provide much more natural colours. Here you can also experiment, because the white balance is a powerful tool with which you can come to unexpectedly interesting results.
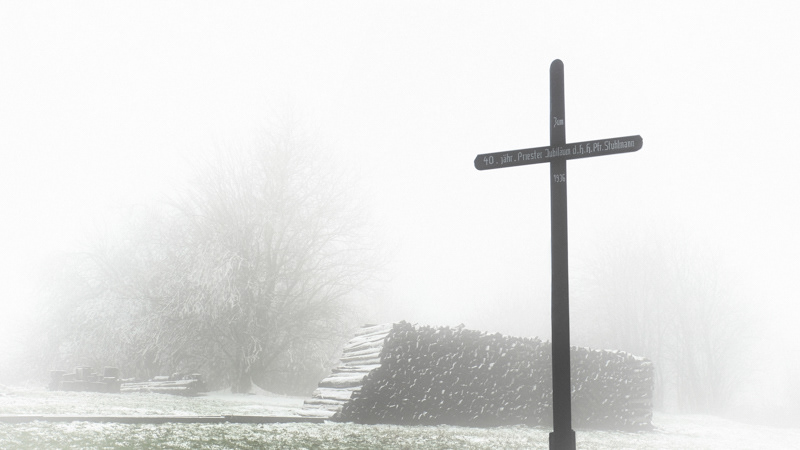
Since in the fog, the contrasts are greatly reduced, it is useful to edit the photos afterwards, for example, Photoshop or Lightroom. The best way to get the pictures if you shoot in RAW format. So impressive results can be achieved with colors and contrasts. It should not be forgotten that sometimes the foggy atmosphere is particularly good in black and white.
In the RAW converter you can achieve various effects. In this case, I check the exposure, reduce the saturation and, following my "Soft Painting" plan, additionally reduce the clarity to make the photo look even softer. Then the file can be opened.
During image processing, care should be taken to see if there are some spots in the photo due to the temperature drop in the mist. Therefore, it is good to take dry, clean cloths to wipe off the lens already for the photo shoot.
What to do if there are stains on the photo? In this case, in Photoshop, I open a new layer "Gradation Curves" and increase the contrast as much as possible. Then all the spots in the photo become visible, even the "invisible ones". When moving the contrast curve, you can see new spots on the photo. I'll remove the stains with the "Area Repair Brush" tool (J). Then I turn off the "Gradation Curves" layer again.
Why should the "invisible" spots be removed? After photo printing, the "invisible" spots may appear and spoil the entire photo. I recommend switching the "Gradation Curves" layer to check again and again, even if the photo looks clean.
At the end you can edit the image using the "Nik Collection" plugin, where you can experiment with the contrasts and depth of the fog. I like dealing with "Nik Collection" because it enhances contrasts and colors without hurting the quality of the histogram.
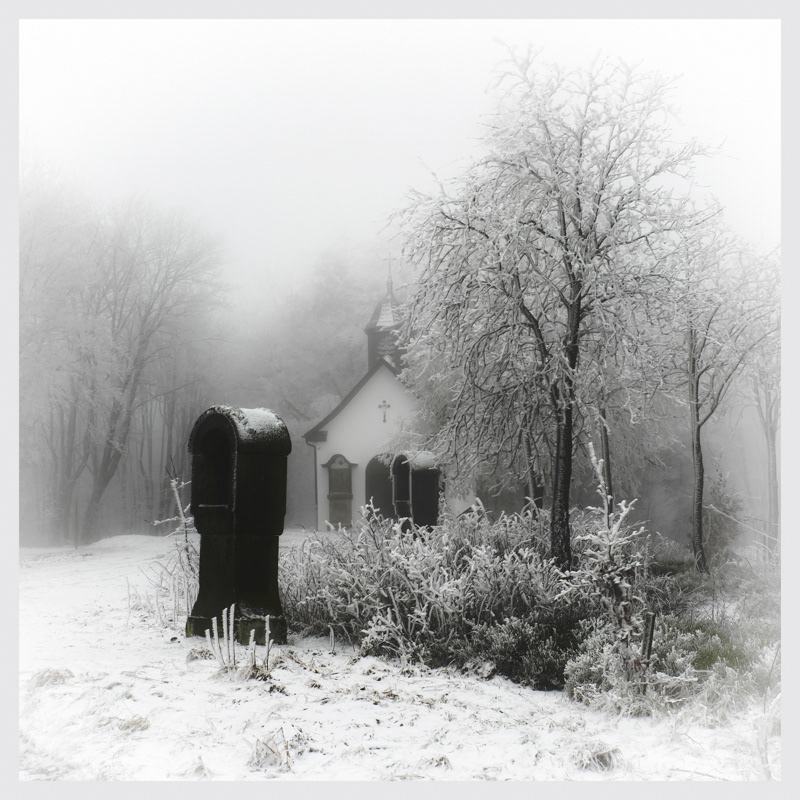
If desired, the photo can be decorated with a white vignette.
Natalie Gabriel